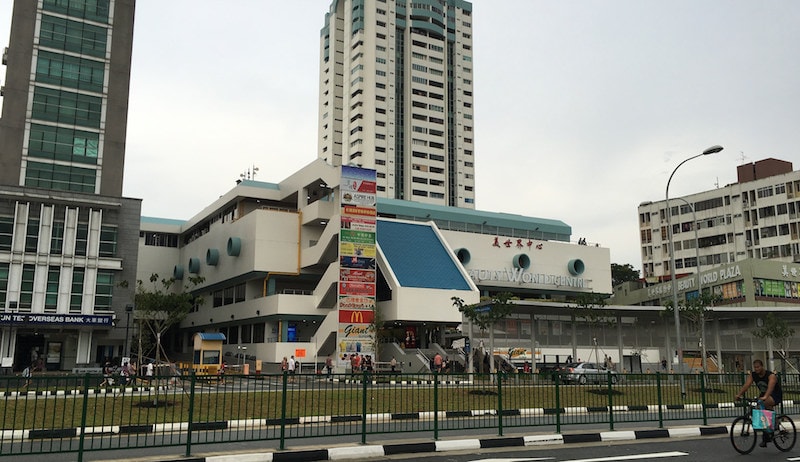

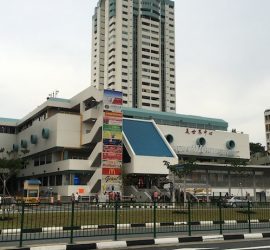
Constructed in the early 1980s, Beauty World Plaza is one of the oldest buildings situated at 140 Upper Bukit Timah Road in the area of District 21. Though the development is named as Beauty World Plaza, the area itself is better known as the local planning area name – Bukit Timah or the subzone name – Anak Bukit.
Beauty World Plaza is a medium-rise mixed-use project which consists of both commercial and residential space and houses a number of homes as well as shops and stalls in which both locals and tourists live, work and do business. The mixed-use development is a host to 30 apartments and comprises of 1, 2, 3 Bedroom units.
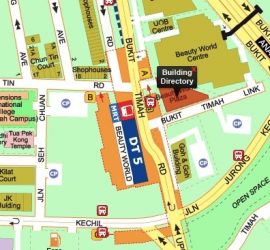
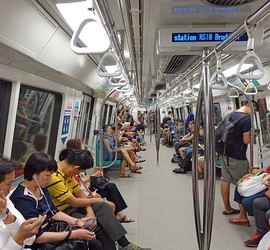
Beauty World Plaza is notable for its excellent connectivity for those who take the public transport to commute, as well as residents with personal vehicles. Located right in front of Beauty World MRT Station, the development has been placed in a very strategic location to attract a steady flow of customers and business.
On top of that, Beauty World Plaza is nearby several bus stops such as the bus stop opposite Beauty World Centre – 42109 and many more. Vehicle owners can easily access other parts of the island through major expressways like Pan Island Expressway (PIE), Jalan Anak Bukit and Jalan Jurong Kechil.
Residents will also be pleased to know that Beauty World Plaza is surrounded by an array of amenities and services. Recreational facilities such as the Mayfair Park and Singapore Gun Club for all kinds of activities that residents can indulge in are just around the corner. Daily essentials can be easily found at nearby shopping malls like Beauty World Plaza, Beauty World Centre, Bukit Timah Shopping Centre.
Besides these malls, grocery needs can be met at supermarkets like Giant at Beauty World Centre and NTUC Fairprice at Bukit Timah Plaza. An abundance of scrumptious food options can be found at Al Ameen Eating House at Cheong Chin Nam Road and Beauty World Food Centre situated at Beauty World Centre.
Plenty of other services that residents can find consists of post boxes, ATMs, supermarkets, clinics, post offices and banks that is only within walking distance from the development. Other significant buildings within the area includes UOB Centre, McDonald’s Place, King Albert Park (KAP) and many more.
Residents with school-going children can look forward to the range of options as Beauty World Plaza is a short distance away from prestigious schools like Pei Hwa Presbyterian Primary School, Methodist Girl’s School, The Swiss School Singapore, German European School Singapore, Bukit Timah Primary School and Hollandse School.
The prime development features basic facilities like a swimming pool, jacuzzi, kids pool and many more for residents of Beauty World Plaza to enjoy.
Beauty World Plaza is an exceptional development that sits within the distinguished area of Bukit Timah. Future residents can look forward to having an exciting yet comfortable lifestyle when residing in Beauty World Plaza.